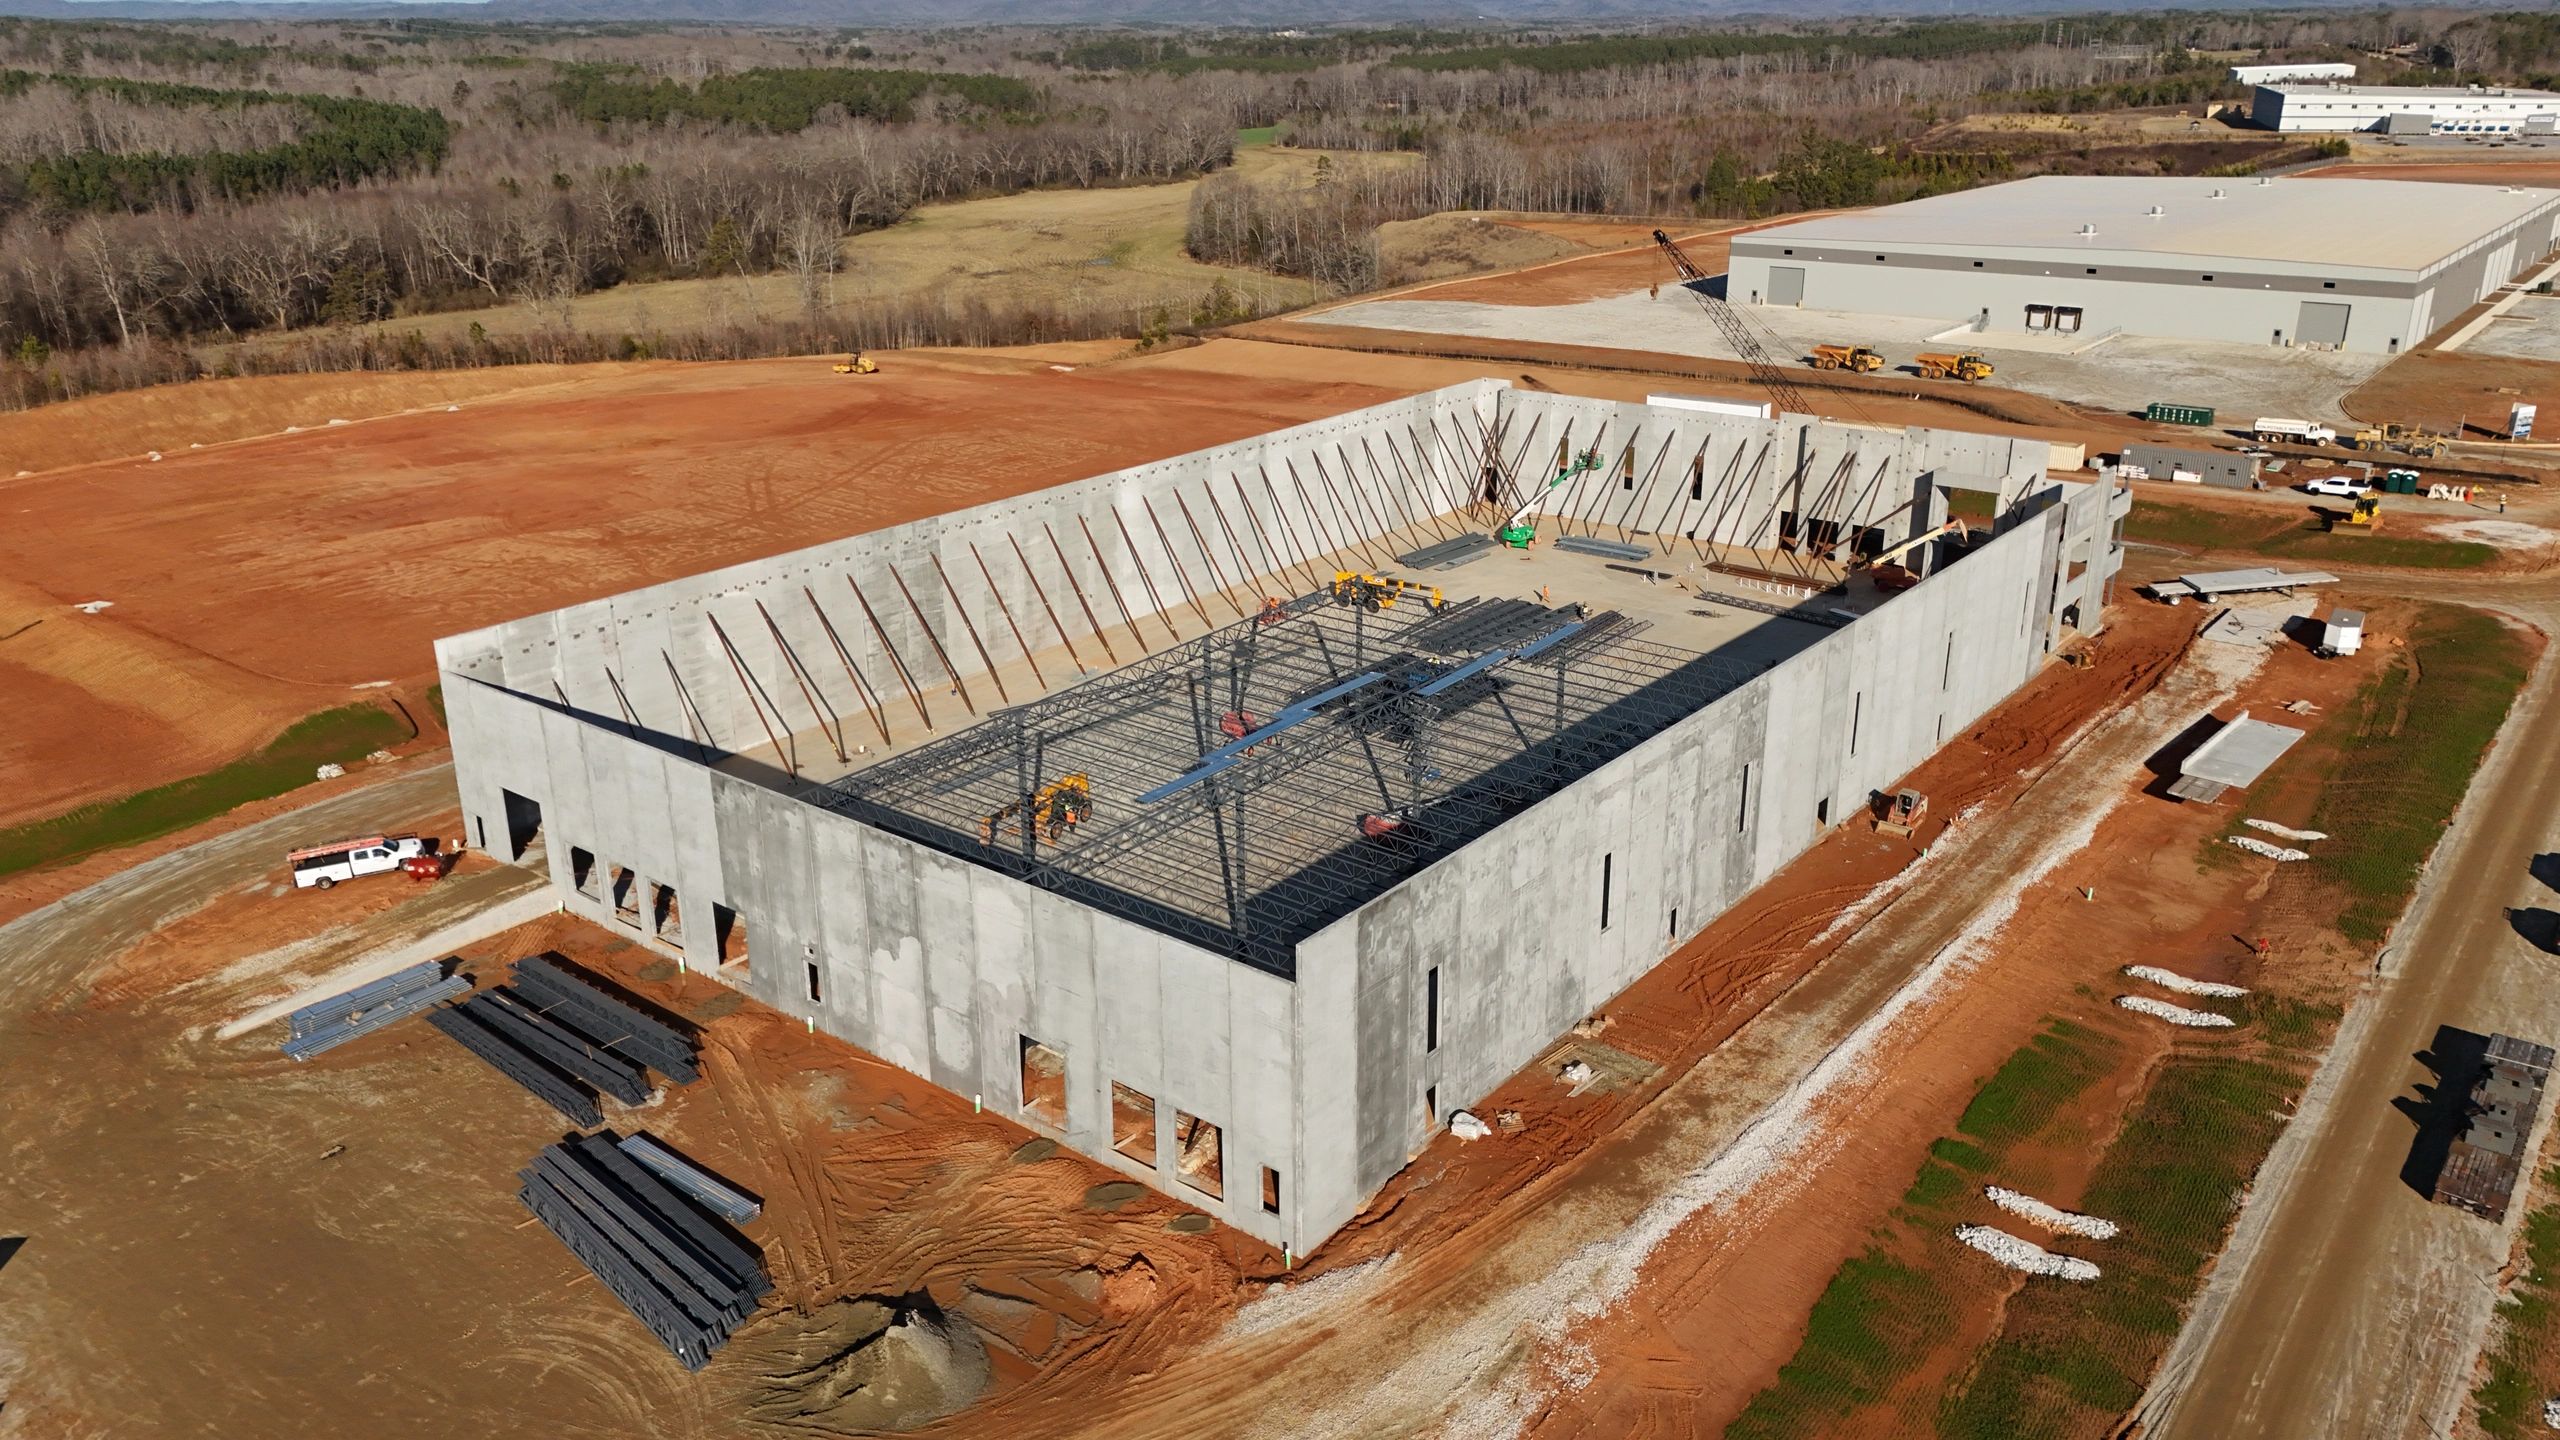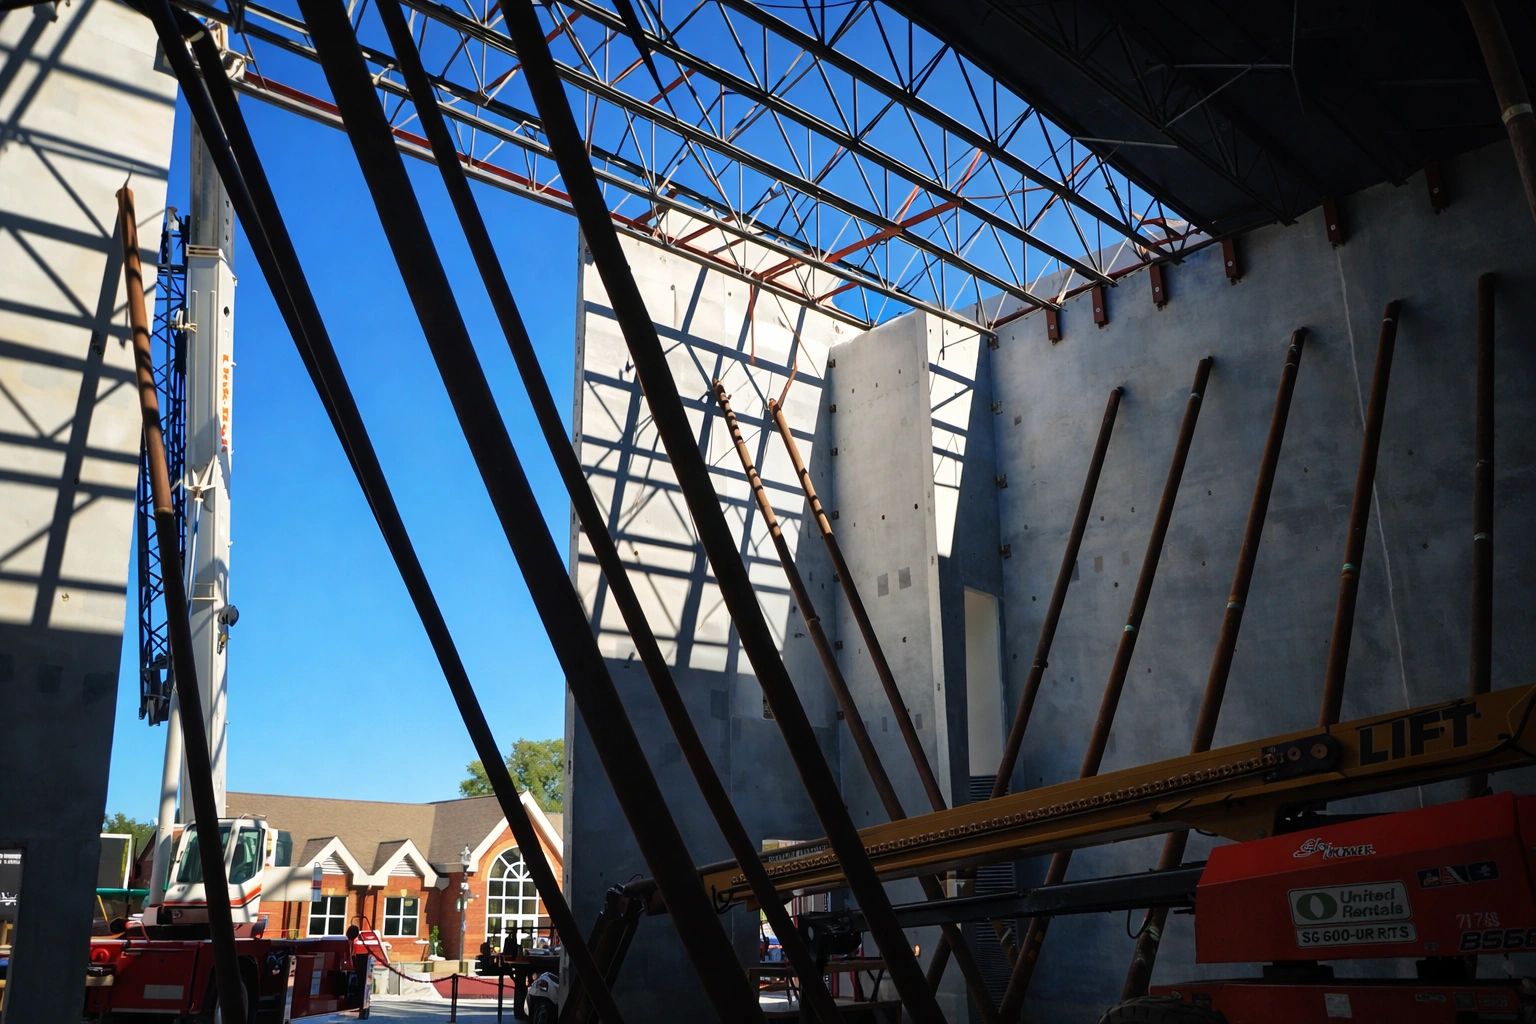
Construction moves forward by covering completed work. Trenches are backfilled. Reinforcing disappears inside concrete. Weather barriers are hidden behind cladding. Mechanical, electrical, and plumbing systems are enclosed by walls and ceilings.
That is normal progress—but it also creates a short documentation window.
If the team waits until the next routine photo visit, the condition may already be impossible to see. A useful construction photography plan identifies these milestones early and matches the camera position to the type of work being documented.
Why timing matters more than image count
One well-timed image can be more useful than dozens of photos taken after the area is finished. The goal is not to photograph every piece of work. It is to preserve the context the team is most likely to need later.
Before capture, ask:
- What will become hidden during the next phase?
- Which locations would be difficult to explain without a photo?
- Who may need to review the condition later?
- Does the image need close-up detail, site-wide context, or both?
- Is a label, plan reference, or location note needed?
These questions help the team choose the right method instead of relying on a collection of disconnected images.
Existing conditions before mobilization
The first documentation window arrives before construction changes the property.
Pre-construction aerial and ground photos can show pavement, curbs, sidewalks, drainage areas, neighboring improvements, vegetation, fences, access points, and other visible conditions. Wide views establish how the site relates to nearby roads and properties. Ground photos add detail where an aerial image is not sufficient.
This baseline can support planning and later conversations about how the site changed. It should be completed before demolition, clearing, grading, or heavy deliveries begin.
Underground utilities and sitework
Utility installation may be visible for only a short time. Once a trench is backfilled and the surface is restored, the route is much harder to understand from a photograph.
Useful coverage may include:
- The overall utility route in relation to the building and site
- Tie-in locations and visible structures
- Drainage features before backfill
- Areas that will be paved or landscaped
- Ground-level detail requested by the project team
An aerial overview can provide orientation across the property. Ground photos are usually needed for connections, labels, depths, and close details. Photography does not replace surveys, as-built drawings, testing, or required inspections; it provides visual context to accompany those records.
Foundations and concrete work
Before a placement, the team may need images of formwork, reinforcing, embeds, sleeves, or other visible components included in its documentation plan. After placement, wider views can show the completed foundation in relation to the building footprint and surrounding site.
The most useful approach depends on the question the team may need to answer. A high aerial overview is helpful for orientation, while close ground-level images are better for specific conditions. If location matters, include enough surrounding context that another team member can identify the area later.
Building envelope conditions
Envelope work is another phase where timing matters. Weather barriers, flashing, openings, penetrations, and transitions may soon be hidden behind roofing or exterior finishes.
Wide photos can show which elevations are in progress. Closer ground or elevated views can document the selected details within the agreed scope. The team should coordinate capture before cladding, trim, roofing, or interior finishes block the view.
These images do not certify installation quality or replace the design professional’s review. They create a time-specific visual reference for the project record.
In-wall and above-ceiling work
As interior construction advances, aerial photography becomes less useful for concealed conditions and ground documentation becomes more important.
Before drywall or ceilings are installed, the team may want to record:
- Mechanical, electrical, and plumbing rough-ins
- Wall backing and blocking
- Equipment and valve locations
- Above-ceiling routing
- Areas that may require future access
- Room-by-room conditions requested by the team
Photos should be systematic. Use room names, grid lines, floor numbers, or another location method the project already understands. A close-up without location context may be difficult to use months later.
Paving, landscaping, and final site improvements
Site conditions can disappear beneath stone, asphalt, sidewalks, soil, or landscaping. Aerial photography is particularly useful during this phase because it shows how drainage areas, parking, access, and building features relate across the property.
Schedule the visit while the work of interest is still visible, not simply at the end of the month. Milestone visits can be added between regular progress visits when a major transition is approaching.
Create a milestone trigger list
The simplest way to avoid missing a documentation window is to connect photography to the project schedule.
A trigger list might include:
- Before clearing or demolition
- Before trenches are backfilled
- Before major concrete placements
- Before exterior assemblies are covered
- Before drywall or ceilings close interior work
- Before paving or landscaping hides site conditions
- At substantial completion and final completion
The project manager or superintendent can identify upcoming triggers during routine planning. That gives the photographer time to coordinate access, weather, airspace, and safe site operations.
Match aerial and ground coverage to the milestone
Drone images are strongest when the team needs the big picture: site development, logistics, roof progress, building elevations, paving, and the relationship between major areas. Ground photos are stronger for close detail, interiors, and work that cannot be seen from the air.
Many milestones require both. The aerial image answers “where is this happening?” The ground image answers “what does the condition look like up close?”
Owens Aerial plans construction coverage with this distinction in mind. Brayden Owens’ construction background helps focus the visit on useful progress and project context rather than a collection of impressive but disconnected views.
Plan the visit before the work disappears
Owens Aerial serves construction teams across Greenville and Upstate South Carolina with aerial and ground progress photography. Scope, viewpoints, deliverables, timing, and price are agreed before the visit.
Call to action: If your project has an upcoming pour, backfill, dry-in, enclosure, paving, or closeout milestone, share the location and target date. Owens Aerial can recommend the views that fit that stage of work.